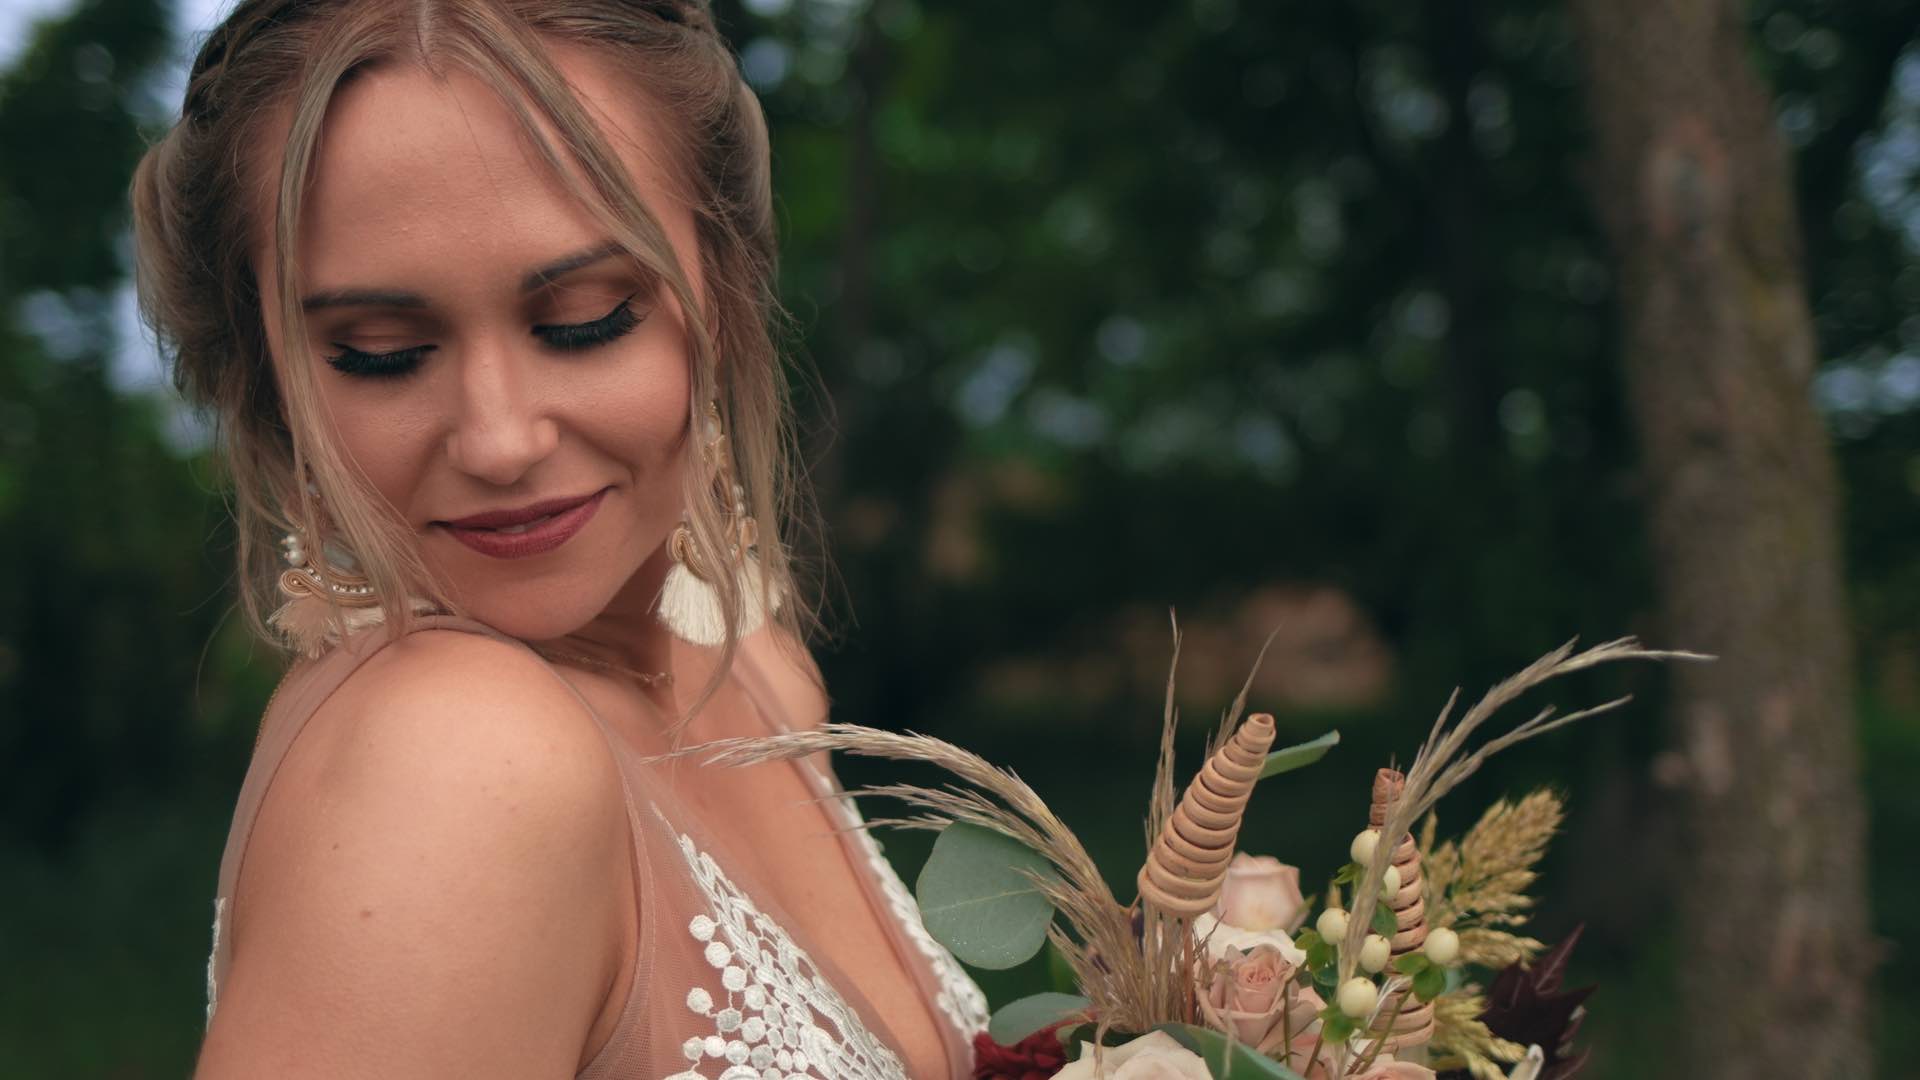
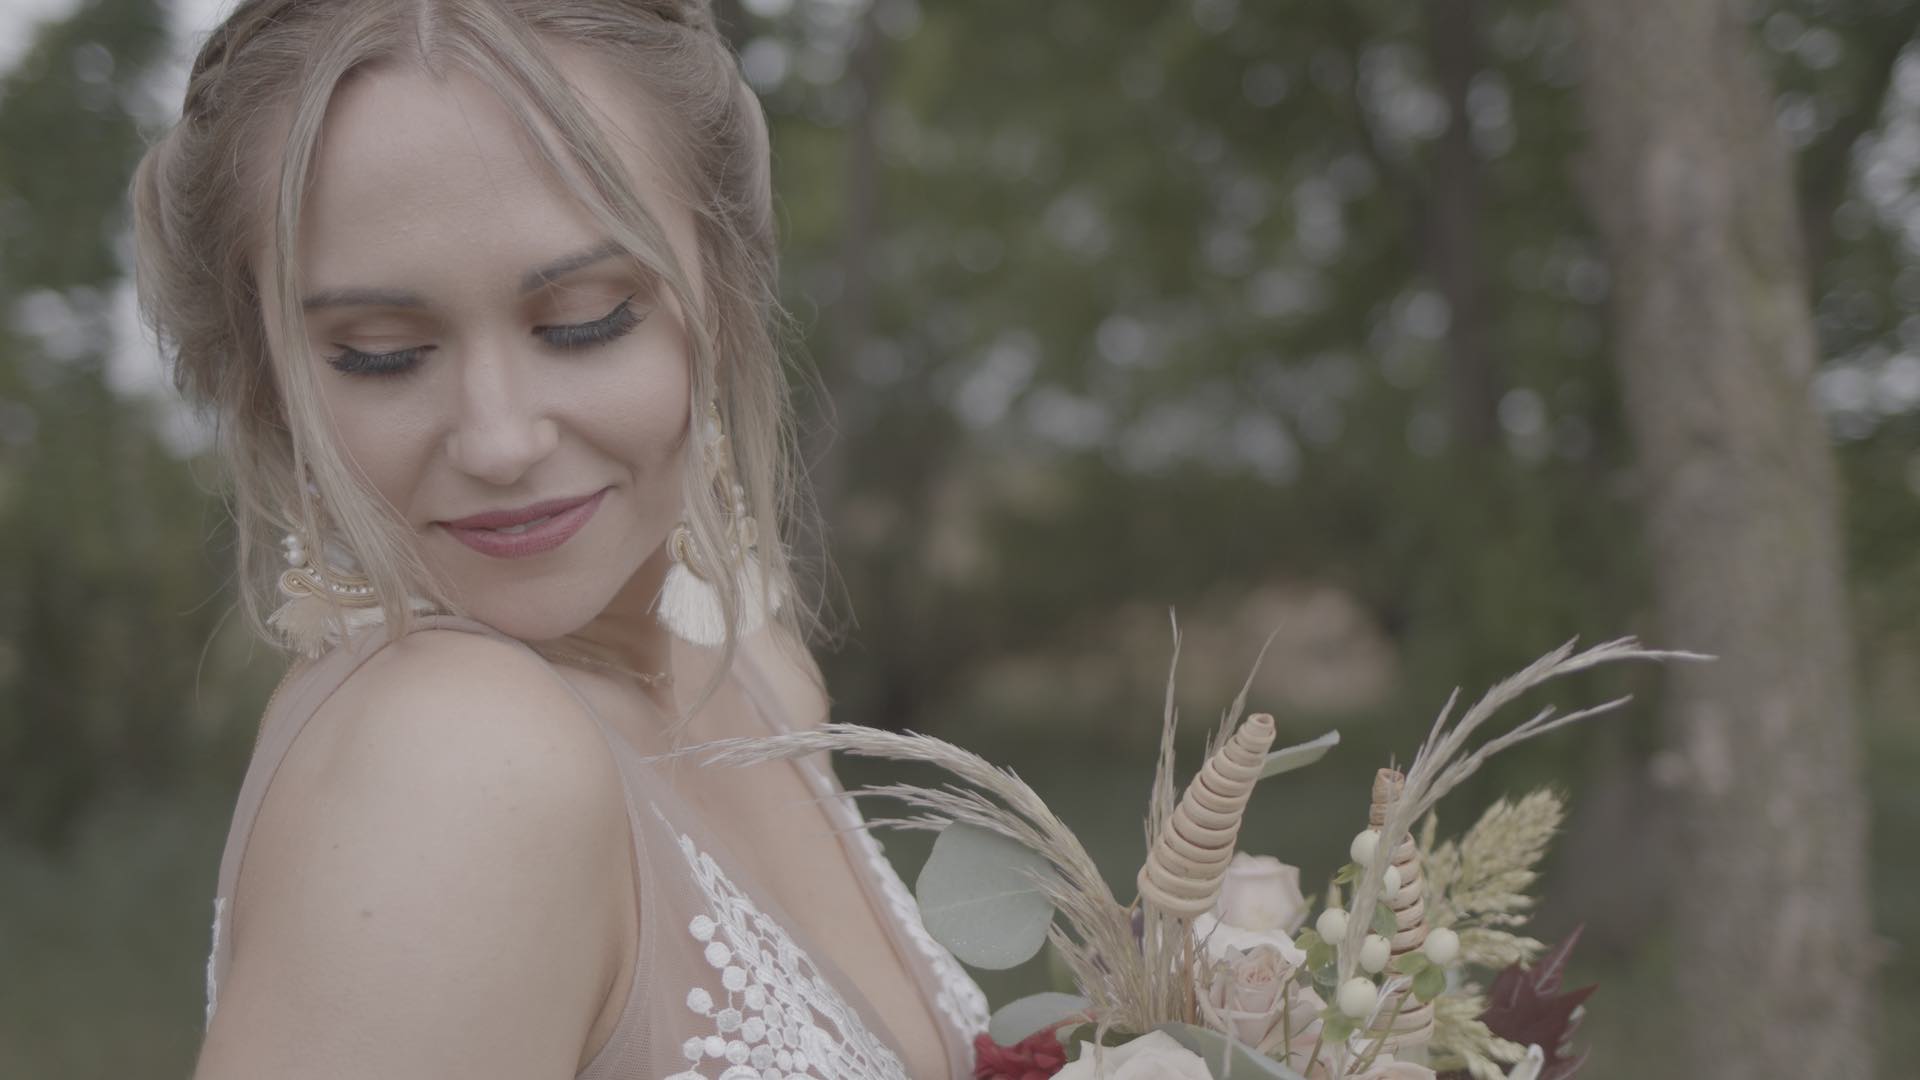
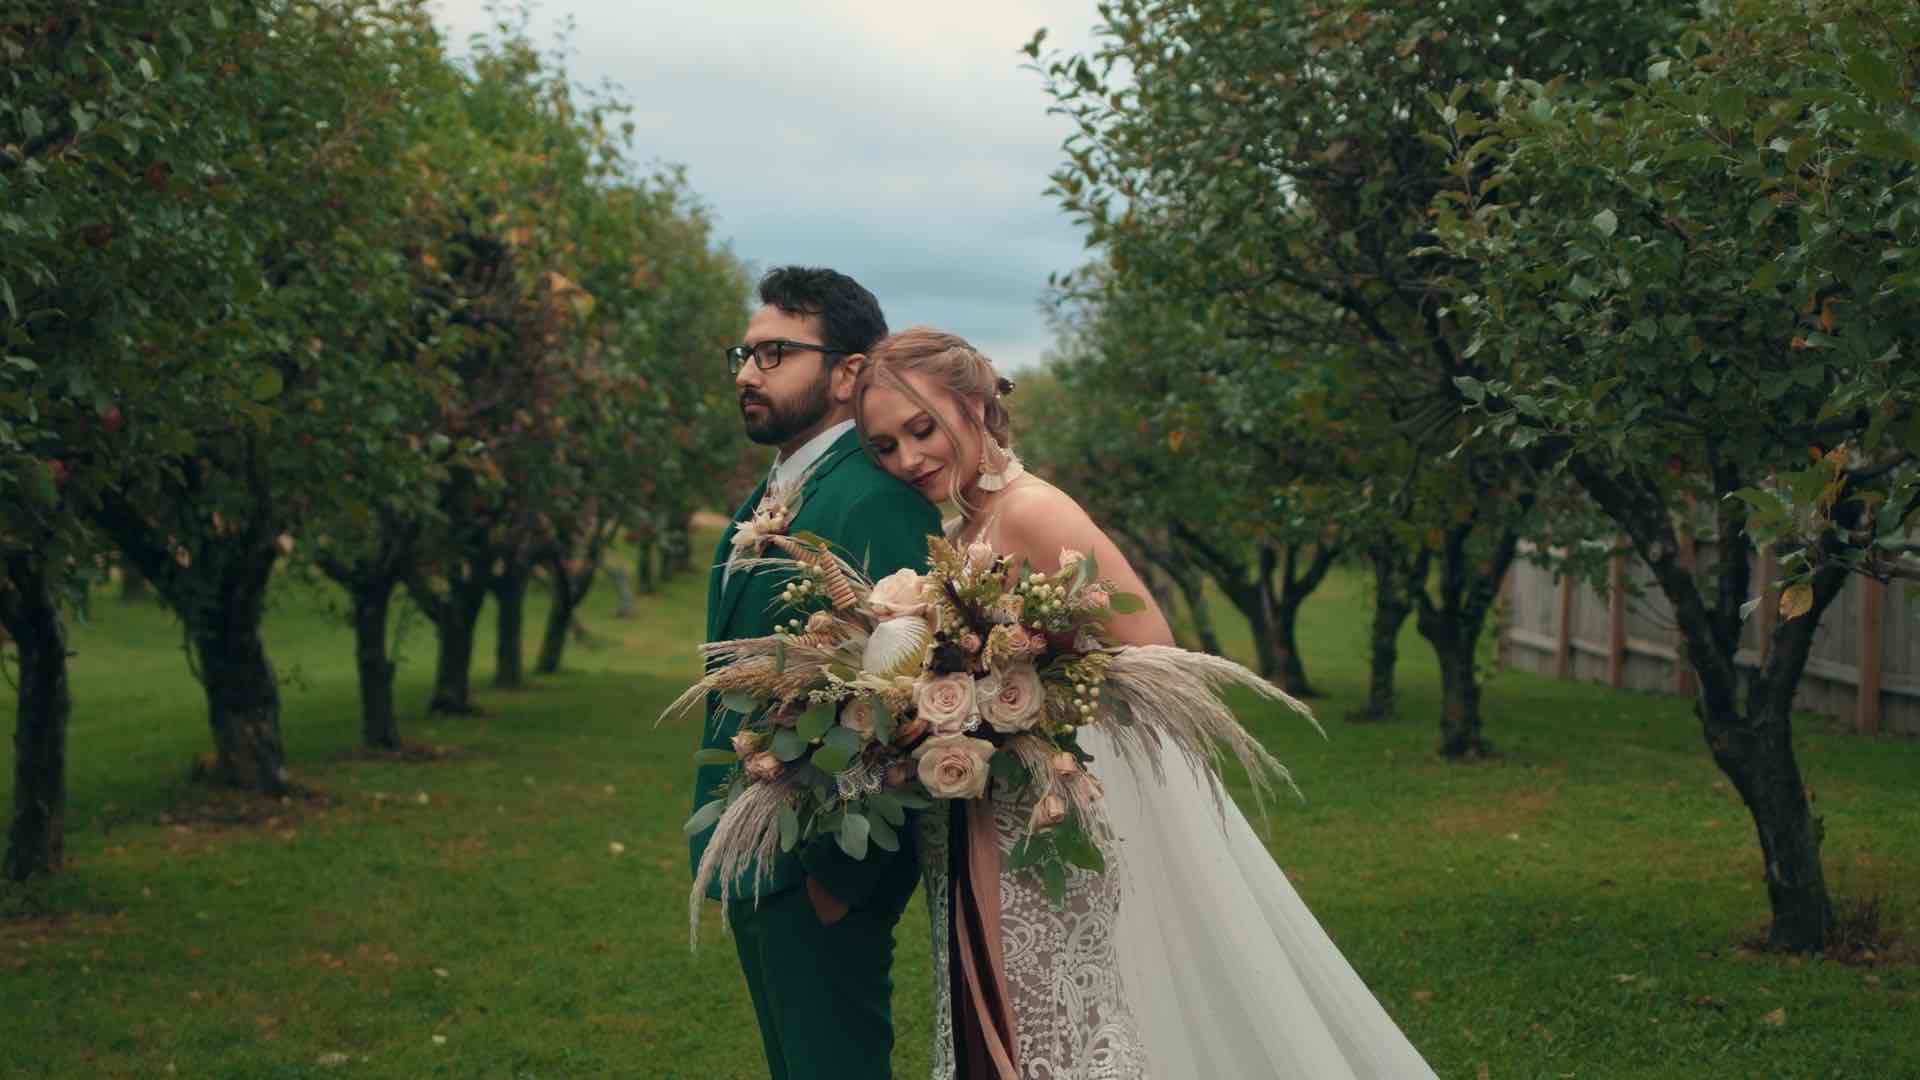
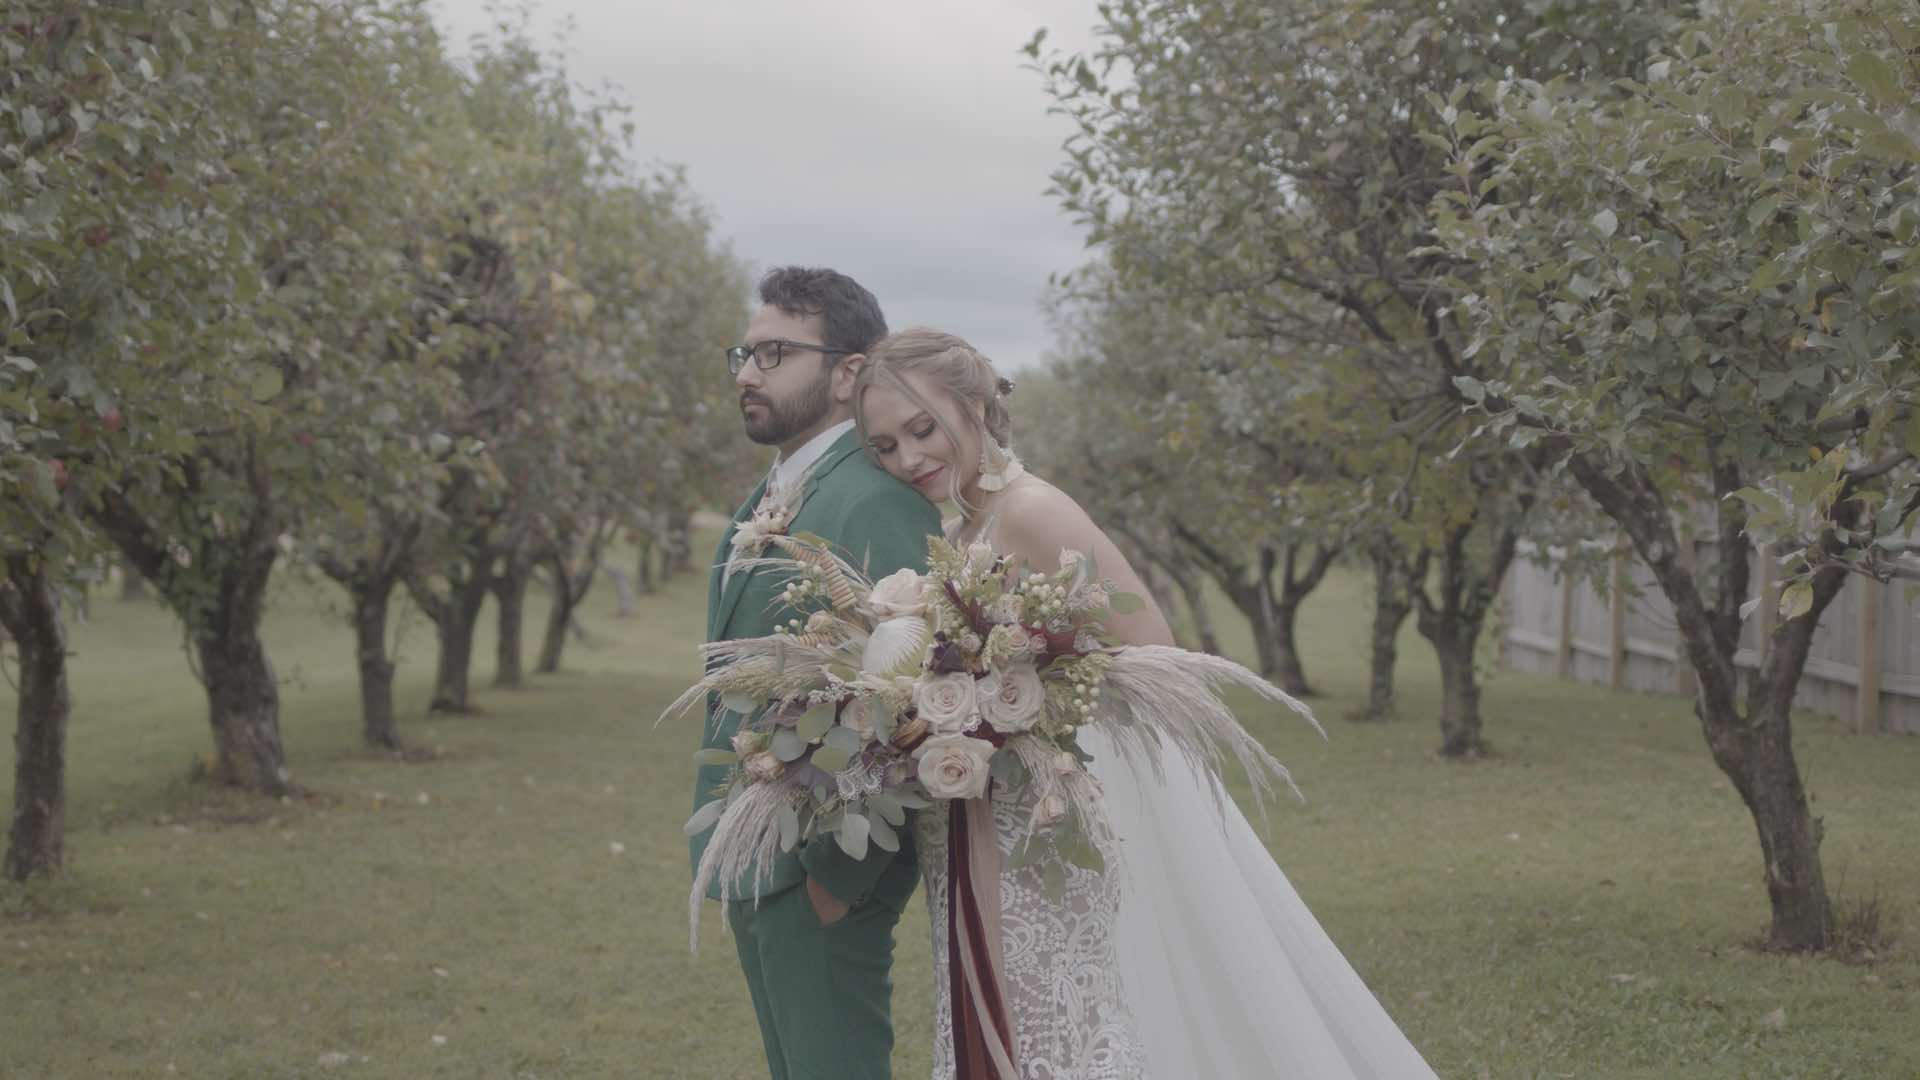
***Important note***
Your images may appear underexposed when you apply the LUTs in Resolve. In some cases, this can be normal depending on how you exposed your camera. To correct this, you will need to use the Camera Raw panel/tab within Davinci Resolve. Within this panel, you should be able to increase your ISO and Exposure until your image is properly exposed. A Temp and Tint adjustment may also be required. This method only works with Braw with your dynamic range set to “Film”.
Why do you need these LUTs?
Braw/Film and other log formats can oftentimes be hard to expose without a proper way of monitoring your image. Braw/Film and other log formats also have a tendency to look flat or washed out. This is why I created my Braw Vivid LUTs. Not only will they help you get exposure out on the field, they will also help you color correct in post production.
Before I go any further, I should note that I didn’t create these LUTs with the intent to sell them. These are simply the LUTs I’ve personally used and perfected over the years. Your own results may vary depending on your camera make and model. I should also note that these LUTs are not a”fix all” for your footage. These LUTs simply serve as a base or starting point for your grade. If you want the best results, I suggest grading beyond the simple application of the LUT.
Why did I make these LUTs:
I designed these as an alternative to the standard rec709 color LUTs offered by Blackmagic. These LUTs are a bit more saturated, specifically in the red and green channel and much more complimentary to skin tones. These are my go to LUTs for weddings or any image I want to add more vibrance to.
Application and how to use:
The beauty with filming in Braw is having the ability to modify your ISO, white balance, and various other settings after you’ve already created your video. Before filming, your camera should be set to Braw with your Dynamic Range set to “Film”. Each LUT in this pack was designed specifically with this in mind. There are a few different types of LUTs within this pack. Grading LUTs and Reference LUT. If you need a LUT on your monitor while filming, be sure to use the “Reference LUT”. This LUT will work best for monitoring and properly exposing your image while filming. You can still load the grading LUTs into your monitor, they will just have a lot more contrast than the reference LUT. Once you are ready to grade your footage, be sure to use the LUTs found in the “Grading LUTs” folder. LUTs can be easily applied within DaVinci. After applying the LUT should only need to adjust your ISO and white balance. For the best results, these adjustments should be made within Davinci Resolve’s Camera Raw tab. The LUT can still be applied while using prores, however, you will need to be sure you have proper exposure (ETTR) and white balance. Again, if you film in prores, you will not have the ability to change your ISO or white balance after you’ve shot. This is why Braw is ideal.
Included in this folder are the following LUTs:
Reference Braw Ludeman Vivid LUT
LOW SAT – Braw Vivid Ludeman_LUT
MED SAT – Braw Vivid Ludeman_LUT
HIGH SAT – Braw Vivid Ludeman_LUT
***If you have any questions, please contact me.***
Thank you for your interest in my work and your continued support! For our latest work be sure to check out the channels below.
